- Prevents water from seeping behind the wall
- 180-Inch long
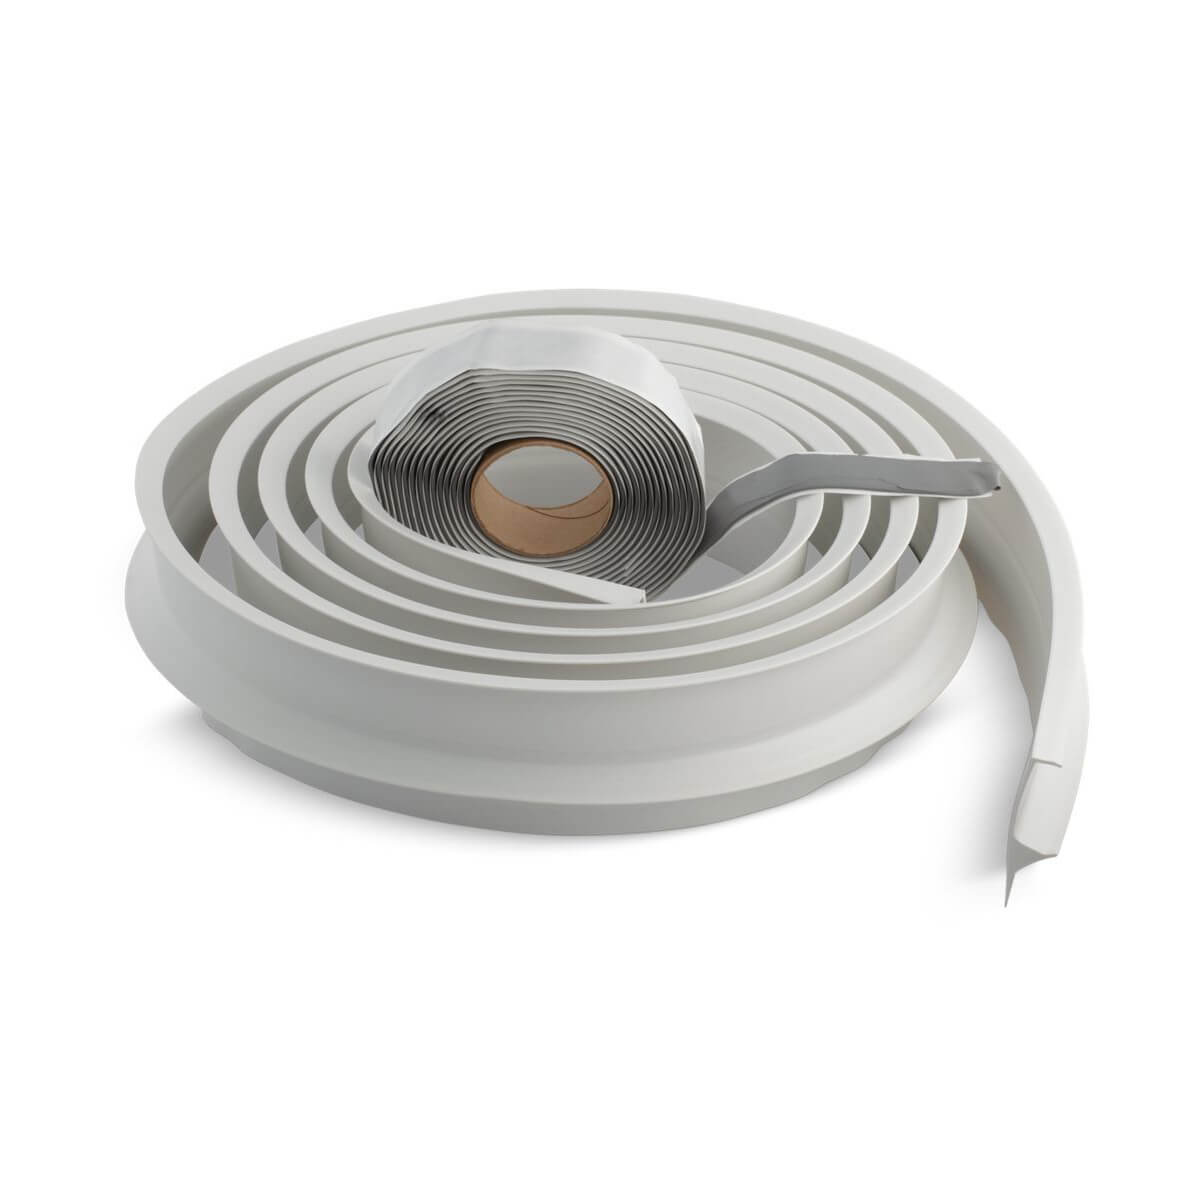
- Includes Vinyl bead and corresponding pressure-sensitive sealing tape
Tile Flange
Part Number: BTFL
In stock
$26.40
6 in stock
Thoroughly Clean the bath rim. Temporarily position the Vinyl bead around the bath rim as illustrated. Trim excess tape material from the bath corner areas to form a miter joint. Do not cut totally through the bead when mitering the corners. Some tiling beads may require trimming of the bottom edge for proper fit.
Apply the length of pressure-sensitive tape to the bath rim ¾” (1.9crn) in from the rim edge. Use the bottom edge of the rim as a guide. Do not remove the paper backing at this time. Cut away any excess pressure-sensitive tape from the corners to form a miter joint. Remove the paper backing.
Start the Tile Flange ¾” (1.9crn) in from the end of the rim. Position the Tile Flange properly on the bath, as illustrated. Press the Tile Flange firmly against the pressure-sensitive tape. Repeat the procedure while working toward the opposite end of the bath.
When the Tile Flange is in place, firmly press the Tile Flange in place with the heel of your hand to ensure proper adhesion. The bath is now ready for installation, leveling, framing, and the application of wall materials. Apply a continuous bead of high—quality silicone sealant between the bath rim and the edge of the finished wall. The silicone sealant must completely cover the Vinyl bead to ensure a watertight seal. Wipe away any excess sealant, and fill any voids.